While cleaning your RV awning may seem like a lot of work, all it really takes is a proper cleaning method, a few simple cleaning products, and a bit of sweat to make your awning look brand new all over again.
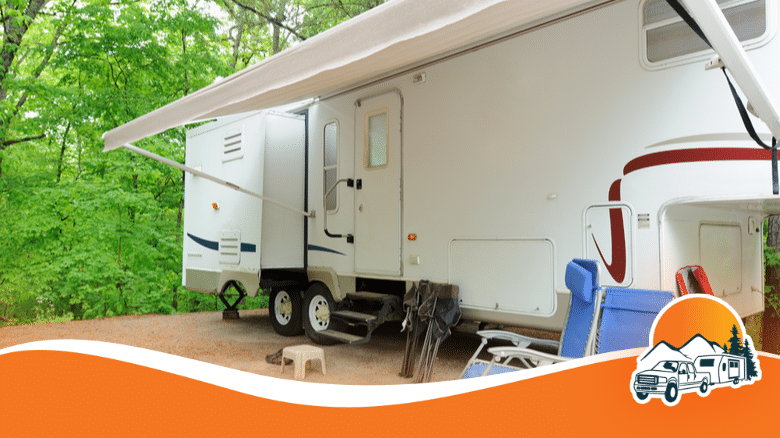
Sure, the color may eventually start to fade, and stains will become apparent, but it doesn’t need to be a death sentence for your old camper awning. A thorough cleaning can literally save the day!
Keep reading ahead as we cover the different equipment and techniques to clean your RV awning with minimal effort and in the least possible time!
- What You Need to Get Stains Out of an RV Awning
- How to Clean the Underside of Your RV Awning: Step-by-step
- How to Clean Dew from Underneath the RV Awning?
- How to Store Your Awning to Prevent Mold and Mildew?
- Can You Use a Magic Eraser on an RV Awning?
- How do I Remove Brown Stains from My RV Awning?
- How Often Should You Clean Your Awning?
- And That’s A Wrap!
What You Need to Get Stains Out of an RV Awning
Once you have the required equipment, it’s not that tough to get stains out of your RV awning. You don’t need a lot of supplies, and you might already have some or all of them. Here are a few basic supplies you will need:
A Good Cleaner
The first thing you’ll need to get the stubborn stains out of your RV awning is a quality cleaner. There are dedicated RV awning cleaners in the market, but you can also use a car wash soap. However, if you’re dealing with sticky stains, you’ll need isopropyl alcohol.
A Garden Hose
You’ll also have to arrange a hose for rinsing the awning. Try using the regular garden hose and not the drinking hose. Some people use the drinking water hose, but that could result in contamination.
A Cloth and a Brush
Sometimes it’s impossible to clean the awning without rubbing it with a brush or cloth. The best choice for a cleaning cloth is the microfiber cloth, as you can store it easily and it dries quickly.
Choose a soft brush with bristles that don’t damage the awning. Rigid bristles can easily damage the fabric of your awning. If some parts of the awning are inaccessible, you can mount the brush to a pole and clean those parts easily.
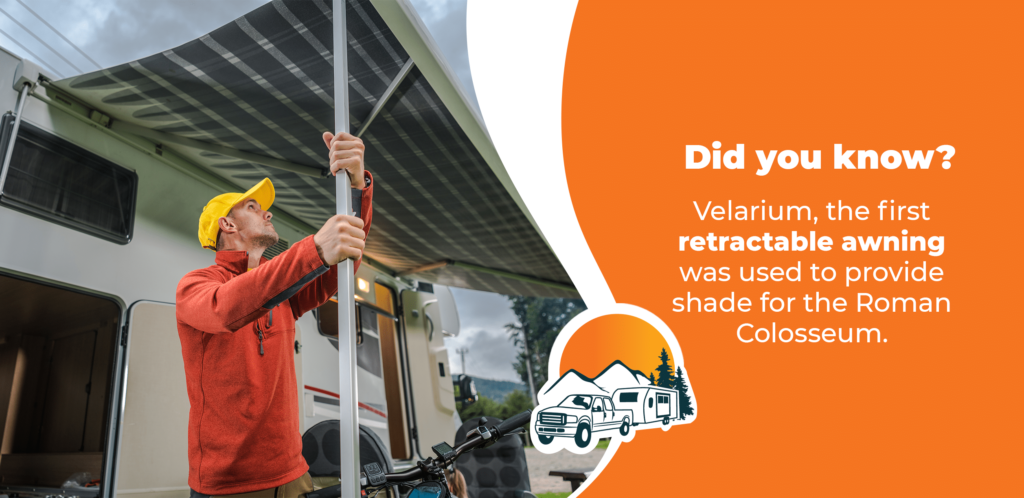
How to Clean the Underside of Your RV Awning: Step-by-step
Want to avoid premature discoloration, black streaks, and mildew on your RV awning? Here’s a tried and tested step-by-step method of cleaning your RV awning and its underside.
Prepare the Camper Awning Cleaner
For starters, prepare the awning cleaner. You can include a regular soap, but it shouldn’t be too harsh to avoid damage. You can add hydrogen peroxide instead of soap as it kills bacteria and viruses much better than soap.
Besides that, you can also use bleach, but it can reduce the lifespan of the awning if it’s not diluted properly. The best way to check if it’s safe for your awning or not is to test it on a small part first. If you’re making a soap mixture, it should have 80% water and 20% soap.
Usually, awnings are exposed to tree saps and bird droppings. Both of them are sticky and don’t come off easily. However, you can remove them with little effort with the right kind of cleaner. Prepare a vinegar cleanser by mixing one-quart vinegar with one gallon of warm water. Pour it on the awning and let it sit there for a few minutes to loosen the sap or droppings.
Lower the Awning
After preparing the cleanser, lower the awning to the point where you can see all of it. Sometimes, it’s impossible to reach the top left or top right corners even after rolling. In that case, use the brush attached to a pole.
Make sure you clean it thoroughly but don’t leave the cleanser on the fabric overnight as it can cause discoloration. Leaf stains are best removed with a soft brush or a pressure wash. However, spray bottle cleansing is the best method overall.
Target the lower side first and spray it with the cleanser, covering it completely. Use a stool if you’re cleaning it while it’s hanging. If you want to save time, use an automatic sprayer. Make sure that your sprayer is clean and doesn’t contain residue of any other chemical.
Rinse the RV Awning Thoroughly
Let the cleanser sit on your awning for an hour while you perform other chores. After an hour, it’s time to rinse the awning with the garden hose. Make sure you rinse both sides of the awning thoroughly. The time required to do it depends upon the kind of cleanser you use. If you’ve used lots of soap, it’ll take a bit longer to rinse.
You may have to scrub a little harder and longer for stubborn stains, but don’t do it too hard. You don’t want to end up accidentally damaging your RV. Similarly, your soap mixture might not work on some stains, and you’ll have to use isopropyl alcohol in those cases.
Let the RV Awning Air Dry
After scrubbing and rinsing the awning, it’s time to let it air dry. Just leave it out in the open and let the sun vaporize all the water inside it. Don’t roll it before it’s completely dry, as the moisture trapped inside can lead to mold growth.
However, you’ll need some patience as drying is the longest part of this process and usually requires several hours. Sunlight can discolor your awning, but some commercial cleansers come with a sealant that protects its color from sunlight damage.
How to Clean Dew from Underneath the RV Awning?
You can remove mold and dew from underneath the awning by wiping it with a dry towel or cloth. Similarly, get rid of any wet items around the awning to stop moisture circulation back into the air.
Easily the best thing you can do to prevent moisture buildup is by avoiding wet grounds, removing wet items from around the awning, and maintaining good ventilation.
How to Store Your Awning to Prevent Mold and Mildew?
Proper storage of your awning is as essential as cleaning it. It’s always a great idea to store your awning properly to prevent mold and mildew in the first place rather than spending hours cleaning it.
You can use different tips to keep mold and mildew away from RV awnings:
Dry the RV Awning Properly
Ensure that you thoroughly dry the RV awning before storing it. If you don’t dry it properly, the remaining moisture can make your awning a breeding ground for mold and mildew. People often roll their awnings after cleaning without properly drying them to save time.
Similarly, those who live in humid conditions should also ensure their awnings are completely dry before rolling.
Protect the RV Awning from UV Rays
Protecting your awning from UV rays is another vital part of preventing mold or mildew damage. Failing to do so can lead to plenty of problems, including the chances of water damage increasing, leading to increased growth of mold and mildew.
Positioning the RV Awning Right During the Rainy Season
It’s also crucial to place the awning in the correct position during heavy rains so that the rainwater can drain properly. Otherwise, the rainwater can collect in the center and allow for mold growth.
Can You Use a Magic Eraser on an RV Awning?
Yes, you can use magic erasers for cleaning your awning. In fact, magic erasers work pretty well with awnings to remove stains. It is especially effective when it comes to eliminating leaf stains. Moreover, you don’t need any special chemicals to make it work as it does everything on its own.
After moistening the eraser, put in some elbow grease, and you’re good to go.
Don’t mix the magic eraser with any harsh chemicals as it could damage the awning. Always go for a mild detergent as the eraser mostly does the job.
How do I Remove Brown Stains from My RV Awning?
All RV awning owners will agree with me here. There’s literally nothing more annoying than cleaning the brown stains caused by leaves, birds and animal droppings as well as tree saps which can be particularly hard to get rid of.
Fortunately, there’s a simple way to get rid of the brown stains from your RV awning. For the best homemade RV awning cleaner, simply start by mixing 1/2 cup bleach, 1/4 cup white vinegar, and 1/4 cup warm water.
Mix it well and spray it on the spots using the spray bottle. Do not rinse or scrub it and let it air dry. After it has dried, rinse it thoroughly, and you won’t see the brown spots any longer.
How Often Should You Clean Your Awning?
There’s no denying that awnings cost a significant amount of money. Not to mention the cost that goes into maintaining your awning. So you need to take extra care of your awning. This means regular cleaning since the accumulation of dirt and stains can cause serious damage such as discoloration, mold, etc.
Cleaning RV awnings every 3-6 months seems the most appropriate method, but it’s different for different types of awnings. For instance, brighter awnings show more dirt and stains, so you need to clean them more often every 1-2 months.
IMPORTANT NOTE: Don’t go overboard with cleaning your awning. You’ll be surprised to know that too much cleaning can actually cause more damage than good.
And That’s A Wrap!
Truth be told, cleaning your RV awning isn’t as tough as you might believe it to be. If you follow the right procedure and use the right materials, you will have a spotless awning in no time.
Besides, if you want your RV awning to stay put for a couple of years or so, it’s important to clean it regularly. What’s more, cleaning it also enhances the appearance of your RV, which doesn’t look good if there’s a dirty awning on it.
Follow the easy steps in this guide and get an awning that looks as good as a new one or perhaps even better.
What are your favorite tips and tricks to clean your camper awning? We would love to know in the comment section below!

